How to connect your SMTP account in MailEach
MailEach doesn't send through a shared server — it sends through your own SMTP accounts. That's a feature, not a limitation: your reputation stays in your hands. This guide walks through connecting…
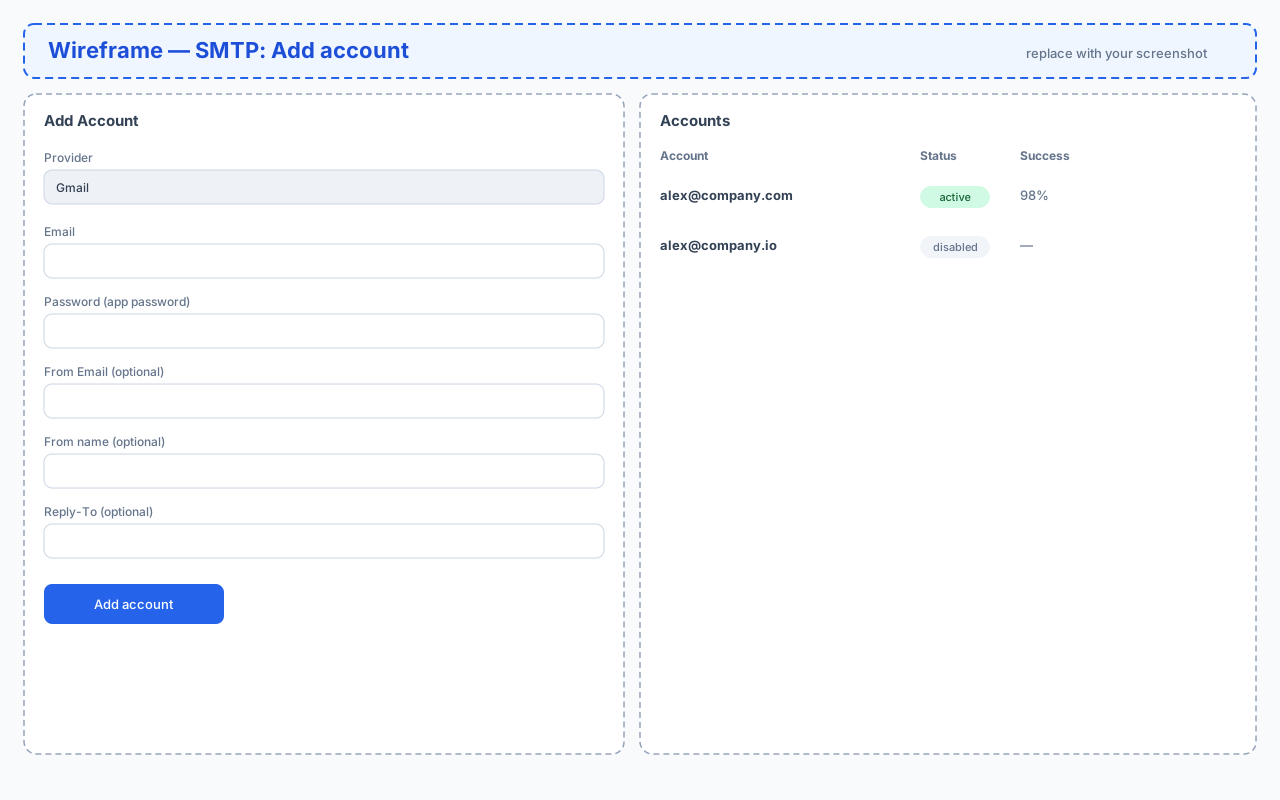
MailEach doesn't send through a shared server — it sends through your own SMTP accounts. That's a feature, not a limitation: your reputation stays in your hands. This guide walks through connecting your first sending account.
Why bring your own SMTP?
When you send through your own Gmail, Outlook or Zoho account, emails come from a domain and IP you control. No shared pool, no stranger's reputation dragging you down. You can also connect several accounts and rotate between them — but that's a separate guide.
Step 1: choose a provider
Open SMTP and pick a provider in the form. MailEach ships with presets for the three most common ones, plus a Custom option for anything else:
- Gmail — smtp.gmail.com, port 587.
- Outlook / Microsoft 365 — smtp.office365.com, port 587.
- Zoho Mail — smtp.zoho.com, port 587.
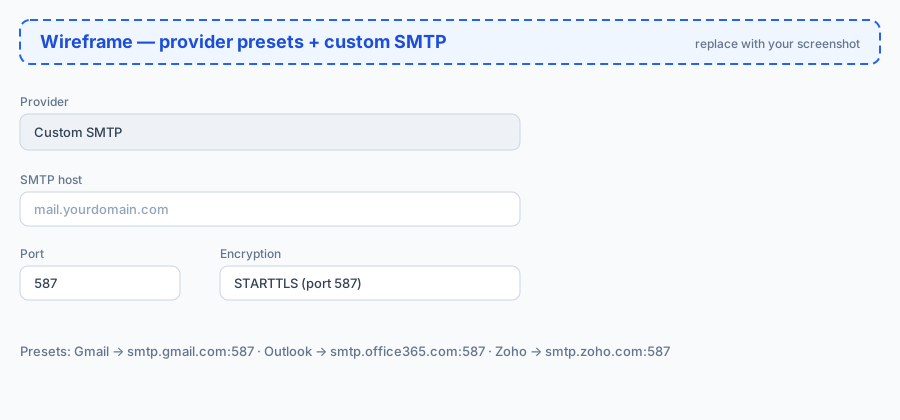
- Custom SMTP — any other provider; you enter the host, port and encryption.
Step 2: create an app password
Providers block SMTP access with your normal login password. Instead, generate an app password — a one-time code created in your provider's security settings — and paste it into MailEach.
- Google: Security → 2-Step Verification → App passwords.
- Microsoft: Security info → App passwords.
- Zoho: Account → Security → App passwords.
Your main account password stays private, and the app password can be revoked any time without changing your login.
Step 3: fill in the form
- Email — the sending address (must exist on the provider).
- Password — the app password, not your regular one.
- From Email (optional) — leave empty to send as your account address. Only set it if the provider has verified that address for you.
- From name (optional) — the friendly name recipients see, like "Alex | Digital Advisor".
- Reply-To (optional) — where replies should land, if different from the sending address.
Custom SMTP servers
Choosing Custom SMTP reveals three more fields. Enter the host your provider gave you, the port (usually 587), and the encryption — STARTTLS for 587, SSL/TLS for 465. If you're unsure, check your provider's documentation.
Testing your connection
Before relying on an account, test it. Open SMTP Test (or the ⋯ menu on a saved account) to run a live connection check. A green result means the credentials, port and encryption are all correct and you're ready to send. Never launch a campaign on an untested account.
Managing accounts
Every saved account has a ⋯ menu with Test, Enable/Disable, Edit and Delete. Disabling an account stops MailEach from using it without losing it — handy when a provider limits you. Your passwords are encrypted at rest and never shown back in the interface.
Frequently asked questions
Why is my connection failing?
The three usual suspects: using your normal password instead of an app password, the wrong port, or 2-step verification not fully enabled. Re-generate the app password and re-test.
How many accounts can I add?
It depends on your plan. Check your plan limits under Billing — adding more accounts lets you spread volume across senders.
Is my password stored safely?
Yes. Credentials are encrypted at rest and never displayed again after saving.
Next steps
With an account connected, learn how to rotate multiple senders for deliverability, and monitor placement with the Inbox Monitor.