How to import recipients into MailEach
Before you can run a campaign, MailEach needs your recipients. This guide covers the two ways to add them in bulk — pasting a list of emails, or uploading a CSV file — and how to read the import…
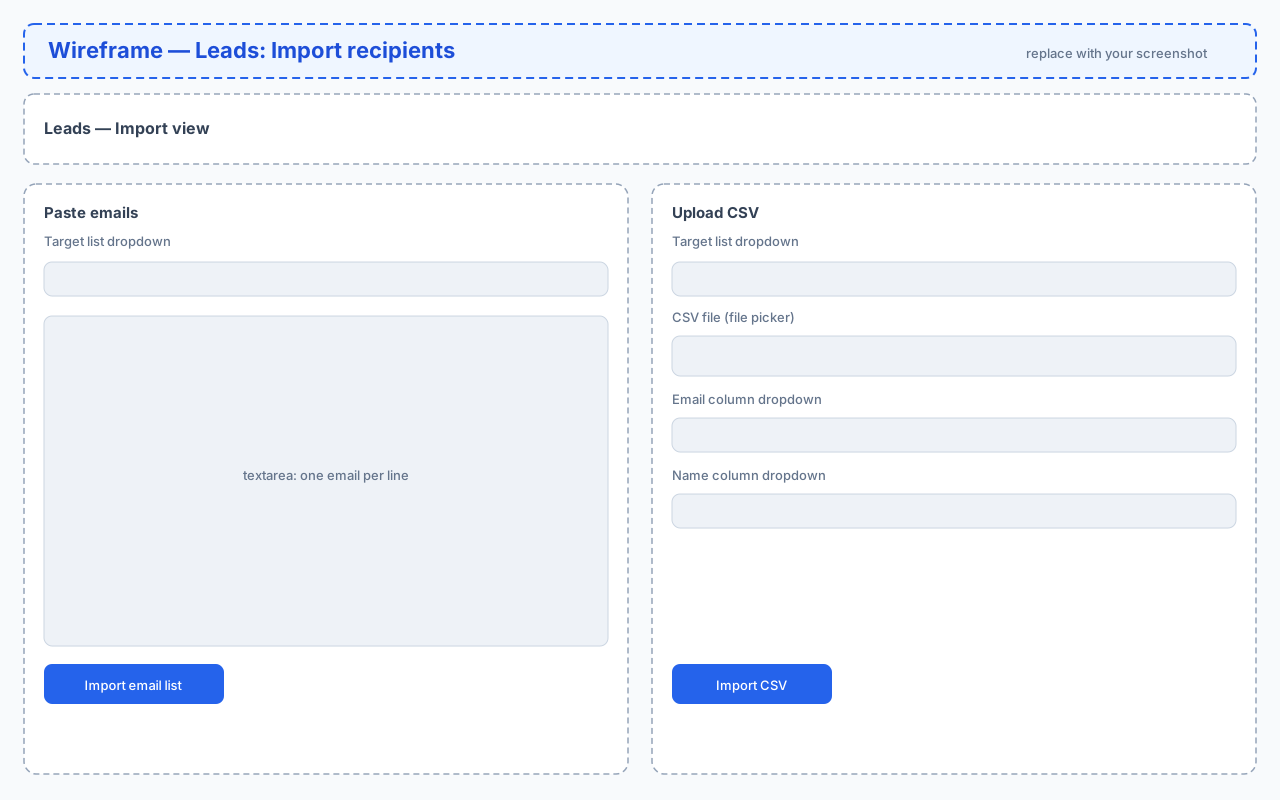
Before you can run a campaign, MailEach needs your recipients. This guide covers the two ways to add them in bulk — pasting a list of emails, or uploading a CSV file — and how to read the import report that follows.
First, create a target list
Recipients live inside lists. If you don't have one yet, open Leads → Lists and create a list for the people you're about to import (for example, "February prospects"). Every import must choose a target list to land in.
Method 1: paste a list of emails
The fastest option for a short list. Open Leads → Import, choose the target list, then paste one email address per line into the text area and click Import email list.
Pasted lines can be just an email address. MailEach validates each one and adds the valid ones to your list.
Method 2: upload a CSV file
For larger or structured lists, use a CSV file. Choose the target list, pick your CSV file, then tell MailEach which columns hold the email and the name.
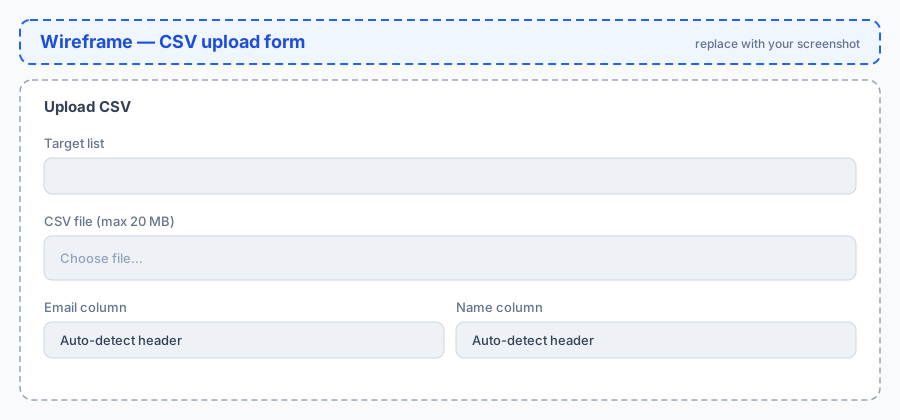
Mapping the email and name columns
Leave both dropdowns on Auto-detect header if your CSV has a header row with "email" and "name" columns — MailEach finds them for you. Otherwise pick the column number that holds each value, or choose None (email only) for the name if you only have addresses.
Reading the import report
After each import you'll see a summary with a few numbers:
- Added — recipients successfully added to the list.
- Duplicates — addresses already in the list, skipped.
- Suppressed — addresses that previously unsubscribed or complained, skipped to protect your sender reputation.
- Invalid — lines that weren't valid email addresses.
Import tips for clean data
- Keep one email per line (or per row).
- Remove obvious spam or role addresses you don't intend to contact.
- Start with a small list and check the report before importing thousands.
Next steps
Once your recipients are imported, organize them into lists, add tags, and build a sequence. Then you're ready to launch your first campaign.