How to organize recipients into lists in MailEach
Lists are the backbone of your MailEach workspace — every recipient belongs to a list, and every campaign and signup form targets a list. This guide shows how to create, rename and remove lists so…
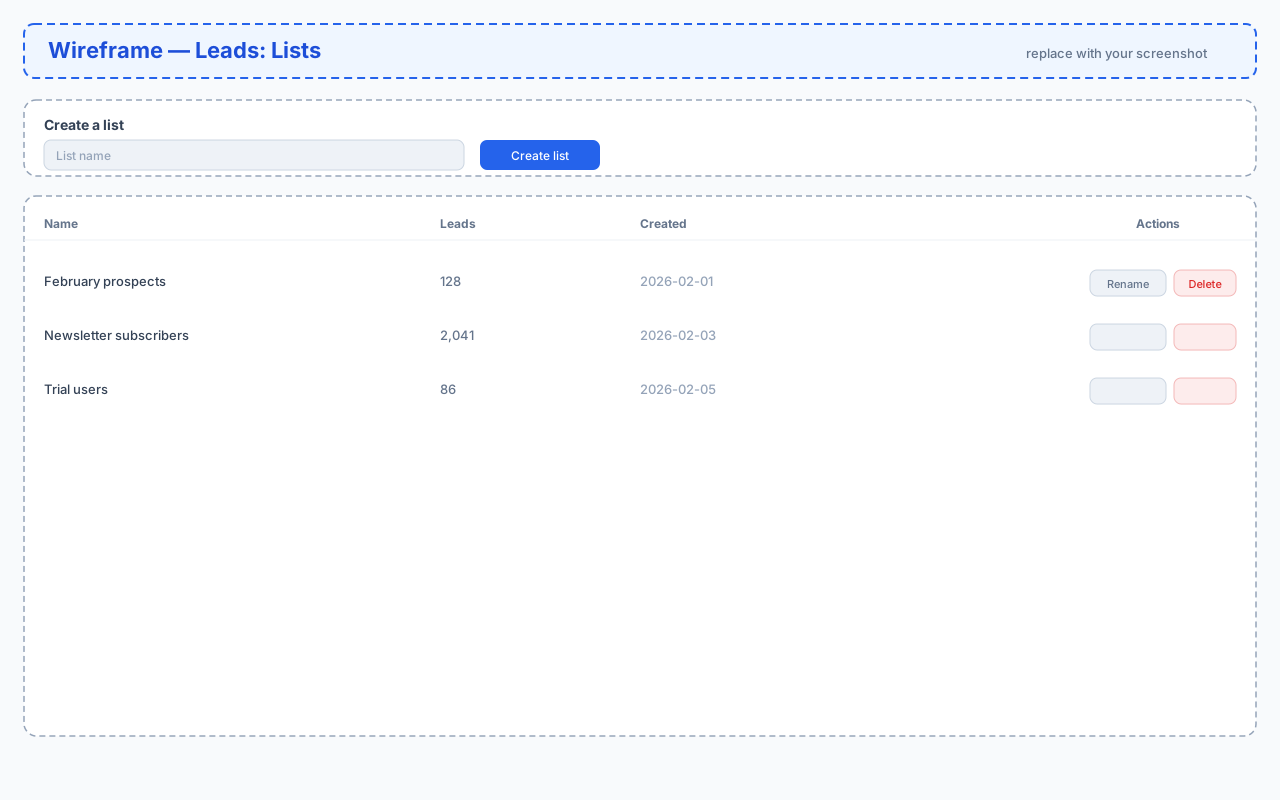
Lists are the backbone of your MailEach workspace — every recipient belongs to a list, and every campaign and signup form targets a list. This guide shows how to create, rename and remove lists so your outreach stays organized.
What are lists?
A list is a named group of recipients. You might keep one list per audience — "Newsletter subscribers", "February prospects", "Trial users" — so you can target each group separately in campaigns, sequences and newsletter forms. A recipient can be moved between lists, and a single list can feed many campaigns.
Creating a list
Open Leads → Lists. Type a name into the List name field and click Create list.
New lists start empty. Add recipients to them by importing (see our importing guide) or by adding them one at a time from the Leads view.
Renaming a list
Next to any list, click Rename, type the new name and save. Renaming doesn't affect the recipients inside the list.
Deleting a list
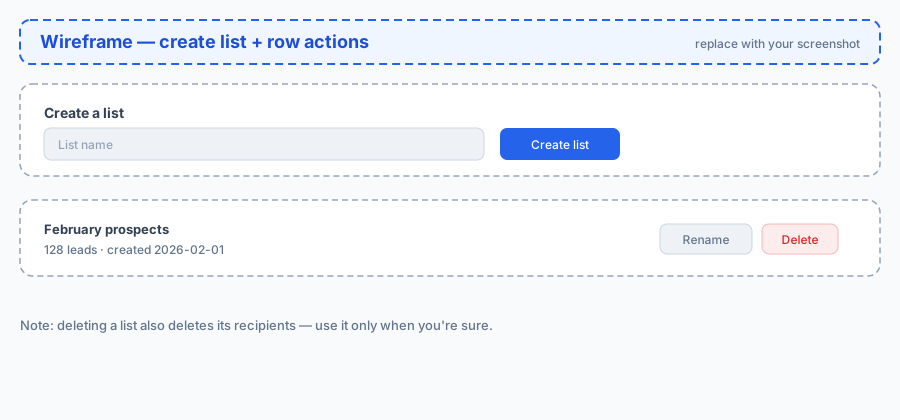
The Delete action removes the list and every recipient inside it, so only use it when you're sure. There's no undo. If you just want to empty a list, move its recipients instead of deleting the whole list.
Using lists to target campaigns
When you create a campaign or a newsletter signup form, you choose which list to use. Keeping clean, well-named lists means you always pick the right audience without hunting through a single giant pile of contacts.
Best practices
- Name lists by audience and purpose (e.g. "Blog subscribers", not "List 2").
- Move unengaged or bounced recipients out of active lists.
- Keep a dedicated list for newsletter signups so forms and campaigns never mix.
Next steps
With your lists set up, add tags and refine individual recipients, or jump straight to building a sequence. See our other guides for the next step.